Golden Technologies
Golden Technologies Literider Scooter Battery Box/Pack | ESAX12006
Golden Technologies Literider Scooter Battery Box/Pack | ESAX12006
In stock
Couldn't load pickup availability
- Free ground shipping when you order before 2:00 PM EST (M-F)(Contiguous US Only)
- 30 Day Return Policy
- Fulfillment: Usually ships in 1-2 business days
- This Product Is Backed By A 90-day Limited Warranty Against Manufacturing Defects
Product Description
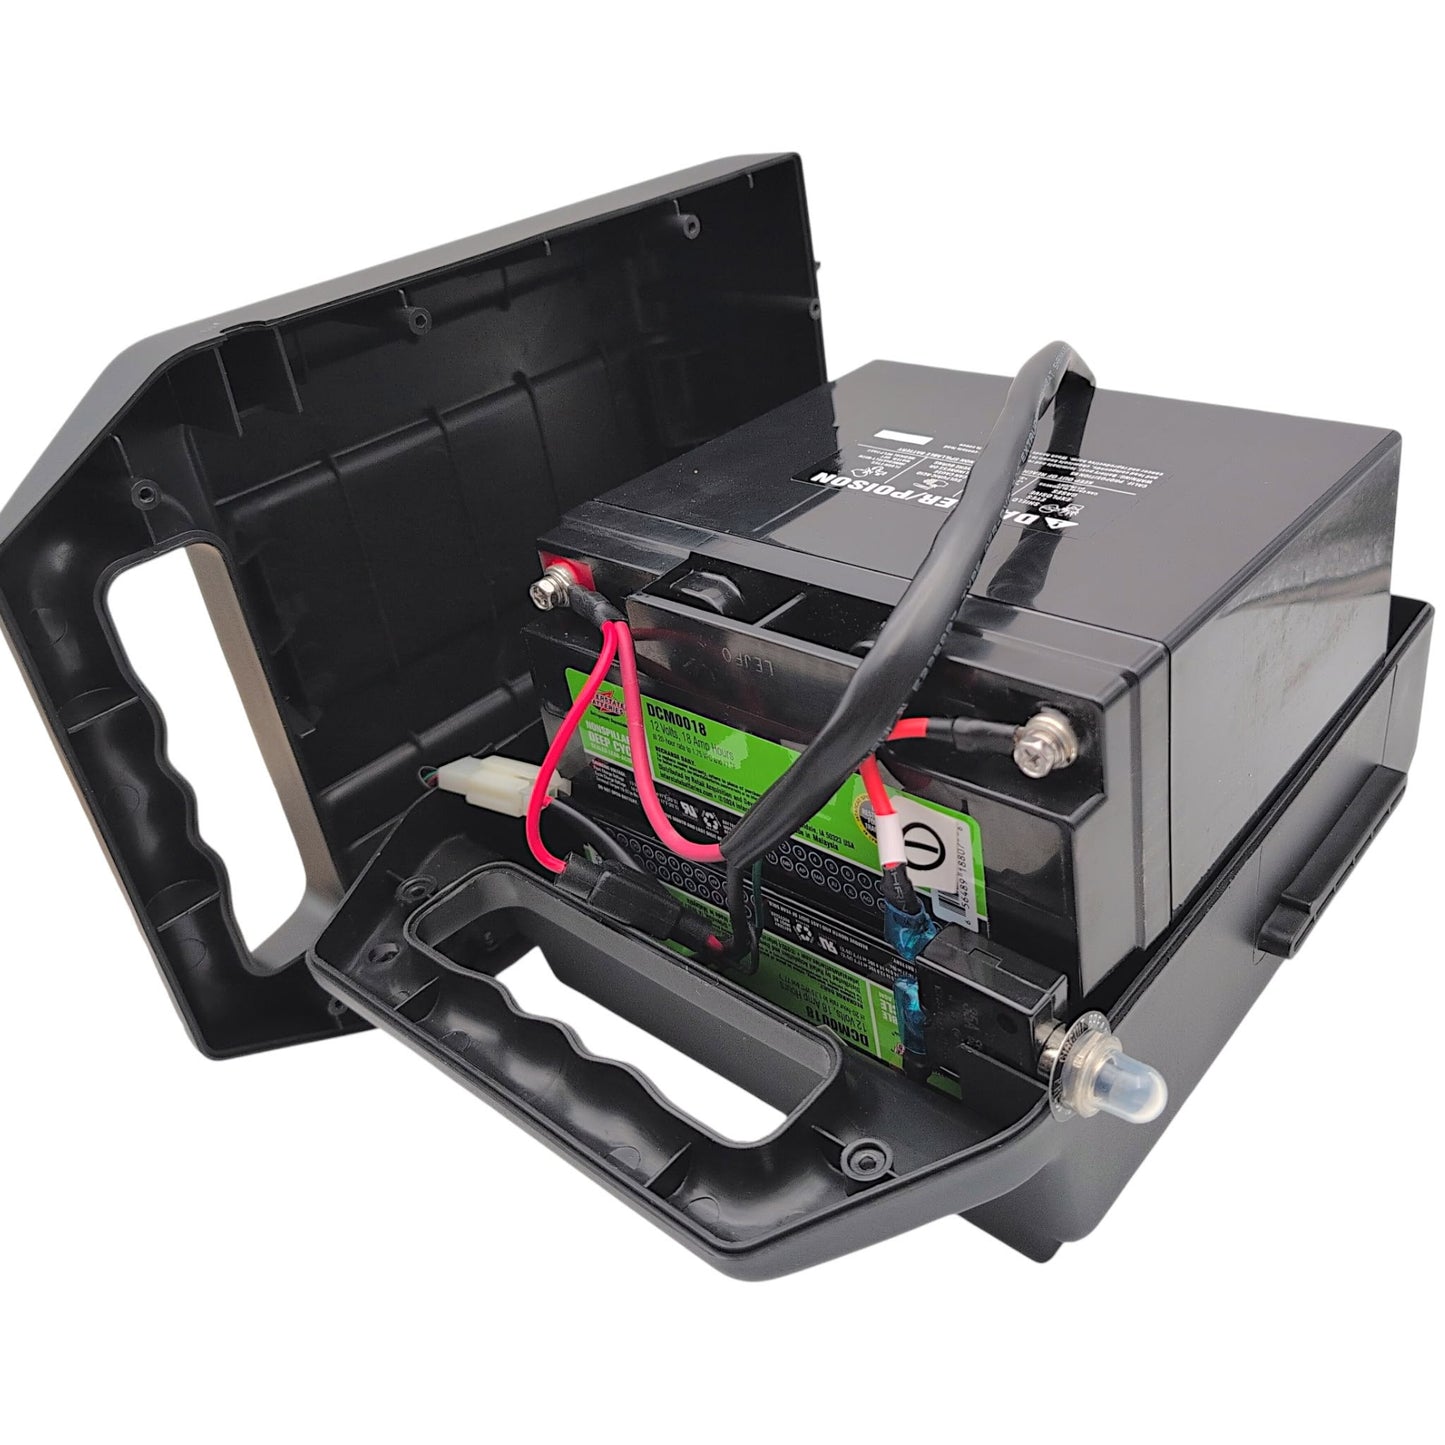
This battery pack housing box is designed specifically for Golden Technologies LiteRider mobility scooters and the LiteRider PTC power wheelchair. Available as either an empty shell or with batteries installed.
- Brand:
- Golden Technologies
- Part Number (Box Only):
- ESAX12006
- Part Number (Complete Assembly):
- SE05E604
- Charging Port Type:
- 3-Pin XLR Connector
- Color:
- Black
- Battery Box Weight:
- 2 lbs (Box Only), 24.4 lbs (With 18Ah Batteries), 29.4 lbs (With 22Ah Batteries)
Scooter Compatibility
- Golden LiteRider 3-Wheel:
- GL110, GL111, GL111D
- Golden LiteRider 4-Wheel:
- GL140, GL141, GL141D
- Golden LiteRider PTC:
- GP160, GP162
Does Not Fit The Following Models
- Golden LiteRider Mini:
- All Models
- Golden Liteway:
- All Models
Battery Wiring Diagram and Installation
BATTERY REPLACEMENT
Tools needed: Phillips screwdriver and adjustable wrench
- Place the freewheel lever in the engaged position.
- Remove the key from the key switch.
- Rotate the seat so that it is facing the side.
- Remove the battery pack.
- Position the battery pack so that the screw heads are facing up. (See Figure 29: Battery Pack - bottom side up).
- Use an adjustable wrench to loosen the circuit breaker button cover.
- Remove the eight (8) screws that fasten the battery pack together.
- Turn the battery pack over so that the screw holes are facing down. (See Figure 30: Inside Battery Pack).
- Remove the top of the battery pack. Note: Observe the position of the battery harness. Make sure that you position it in the exact same place during assembly.
- Disconnect the top battery from the battery harness and the circuit breaker and remove it.
- Disconnect the bottom battery from the battery harness and the circuit breaker and remove it.
- Place a new battery into the bottom half of the battery pack. Make sure that the terminals are facing down.
- Connect the battery harness and the circuit breaker to that battery.
- Place the second new battery on top of the first with the terminals facing up.
- Connect the battery harness and circuit breaker to the top battery.
- Place the top half of the battery pack onto the bottom.
- Turn the battery pack over.
- Reinstall the eight (8) screws that fasten the top and bottom halves of the battery pack together.
- Tighten the circuit breaker button cover.
- Reinstall the battery pack.
WARNING: Prevent electrical shock!
Make sure that you connect the batteries according to the battery diagram(Figure 31). Wiring Configuration:
- RED to Positive
- BLACK to Negative
- GREEN (Ground/Harness)

Figure 29. Battery Pack (bottom side up)

Figure 30. Inside Battery Pack

Figure 31. Battery Diagram
CIRCUIT BREAKER REPLACEMENT
Tools needed: Slotted screwdriver, Phillips screwdriver, and adjustable wrench
- Place the freewheel lever in the engaged position.
- Remove the key from the key switch.
- Remove battery pack.
- Use an adjustable wrench to loosen the circuit breaker button cover.
- Remove the eight (8) screws that fasten the battery pack together.
- Disconnect the top battery from the battery harness and circuit breaker.
- Disconnect the bottom battery from the circuit breaker.
- Install the new circuit breaker onto the bottom battery.
- Reinstall the new circuit breaker onto the top battery.
- Connect the battery harness to the top battery.
- Reinstall the battery pack halves together.
- Tighten the circuit breaker button cover.
BATTERY HARNESS FUSE REPLACEMENT
Tools needed: Phillips screwdriver and adjustable wrench
- Place the freewheel lever in the engaged position.
- Remove the key from the key switch.
- Remove the battery pack.
- Use an adjustable wrench to loosen the circuit breaker button cover.
- Remove the eight (8) screws that fasten the battery pack together.
- Open the battery harness fuse holder.
- Remove the old fuse from the fuse holder.
- Install a new fuse into the fuse holder.
- Reinstall the bottom half of the battery pack onto the top half.
- Tighten the circuit breaker button cover.
- Reinstall the battery pack.
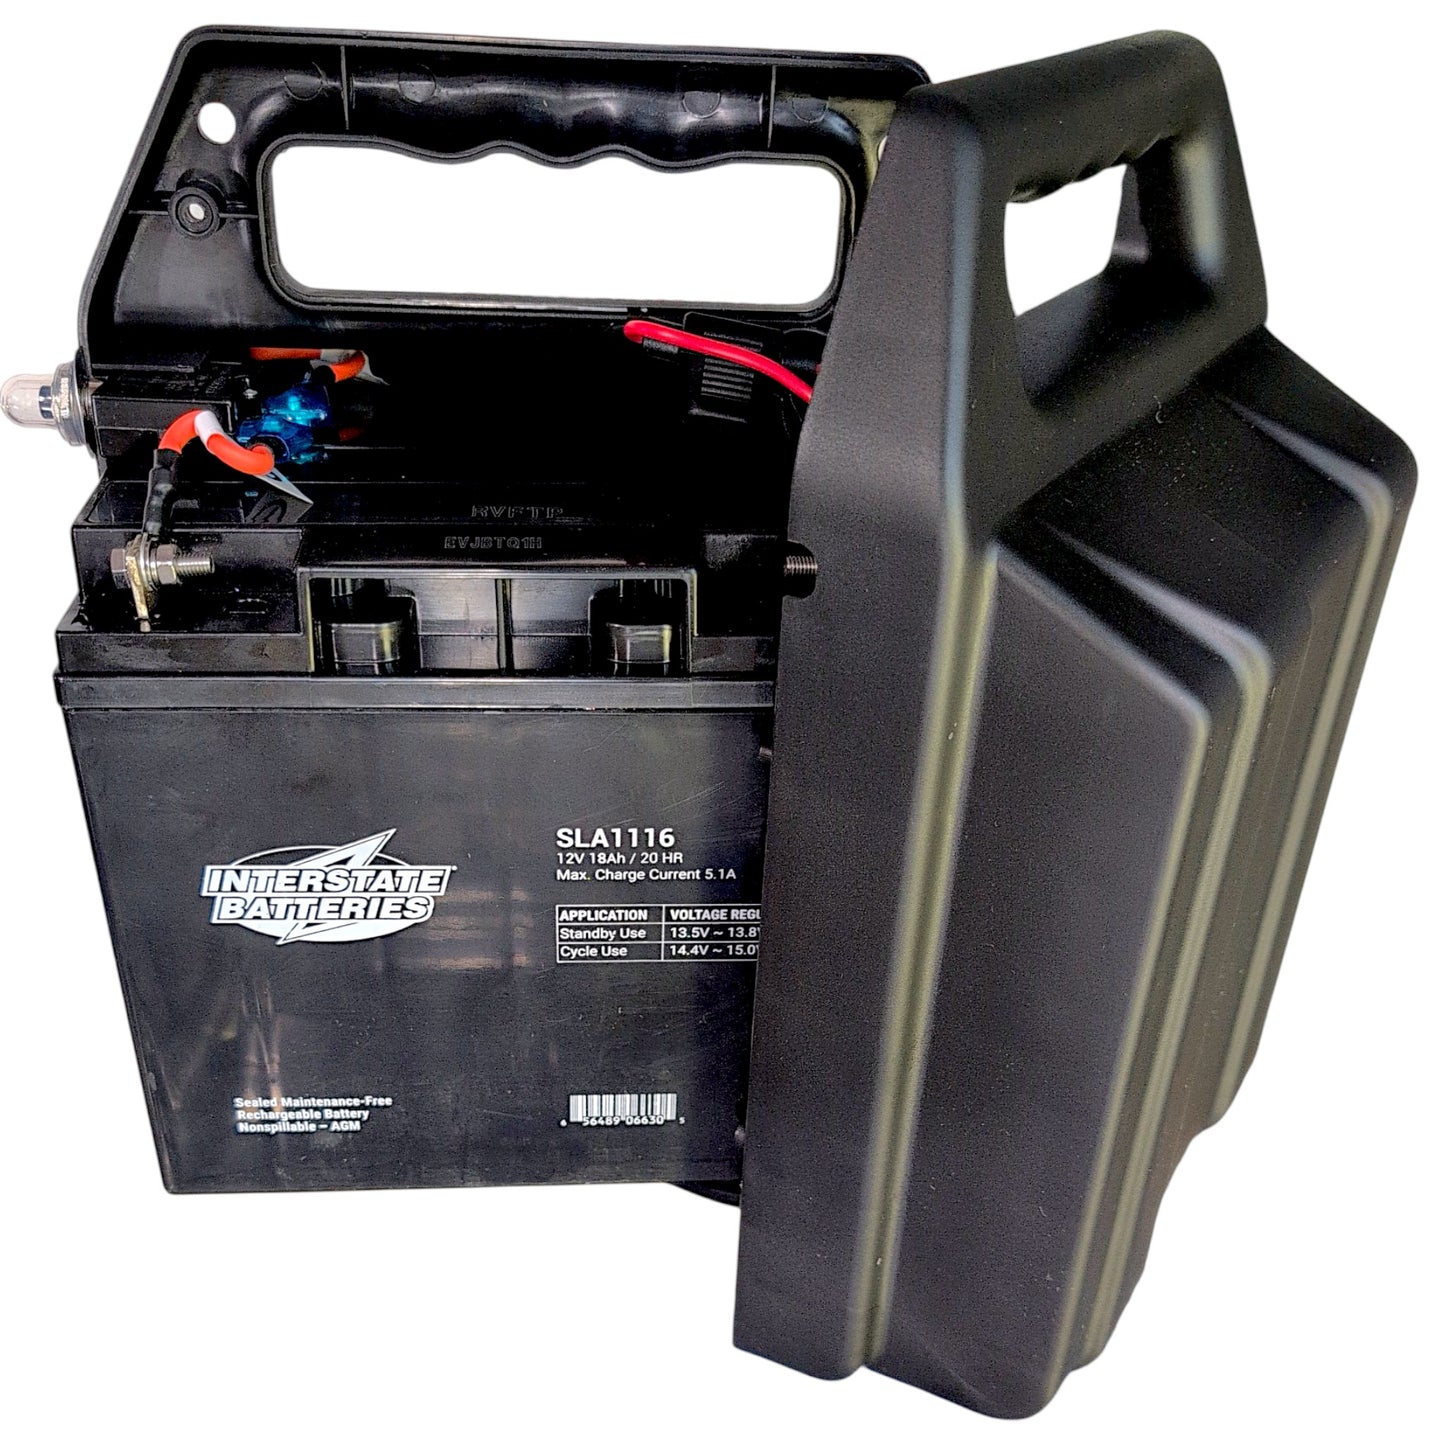
Battery Box Variations
- No Batteries: Battery Box & electrical components only
- 18Ah 12V Deep Cycle Batteries: Comes with Two Interstate DCM0018, 12 Volt, 18 Amp, Deep Cycle Batteries Installed
- 18Ah 12V Batteries: Comes with Two Interstate SLA1116, 12 Volt, 18 Amp, Standard Batteries Installed
- 22Ah 12V Batteries: Comes with Two Interstate HSL1125,12 Volt, 22 Amp, High Rate Batteries Installed
Our Interstate Batteries replace/upgrade the original OEM Golden Technologies: 3052512100 SLA / AGM spill proof Batteries, with NB Terminal terminals.